CIN506 - Experimental Film
The Cult of the Masks
Progress
By Caitlin McCaul
This section is to show the progress of the animated stills and the live action shots. This section will also include any preproduction, production and post production assets such as storyboards, filming stills and editing screenshots.
ANIMATION STILLS
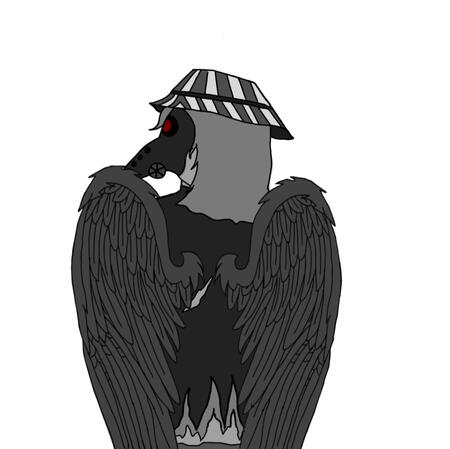
Mid - Philza with gas mask on (29/9/24) (End Shot)
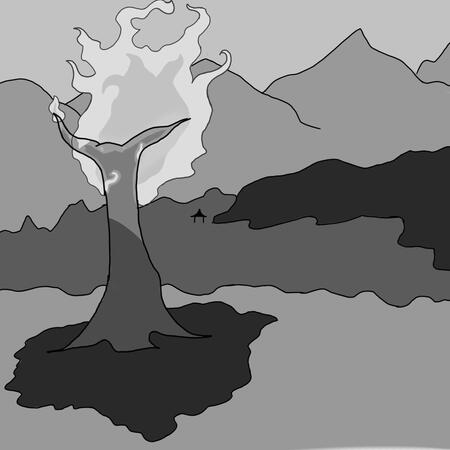
Wide - Red Team First Base #2 (17/10/24)

Close Up - The Watcher's Eye (19/10/24)

Mid - Philza Gets Stabbed In The Back (27/10/24)
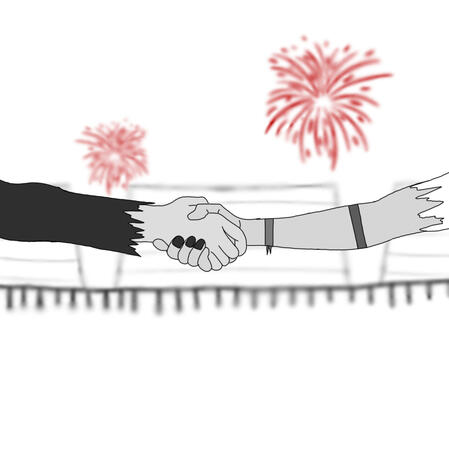
Close Up - Philza And Tubbo Shake Hands (14/11/24)

Meduim Close Up - Philza kills BadBoyHalo (24/11/24)

Wide/Medium - Weapons Rack (03/01/25)
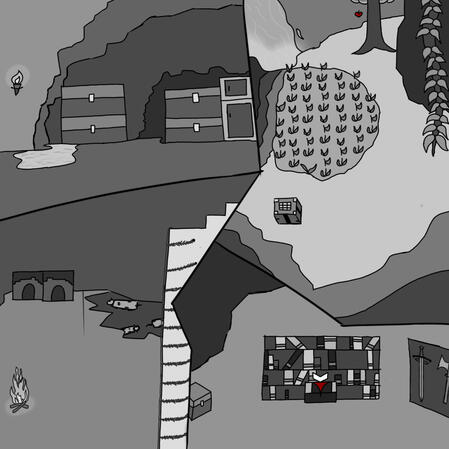
Wide - Base #2 Intact (16/12/24)
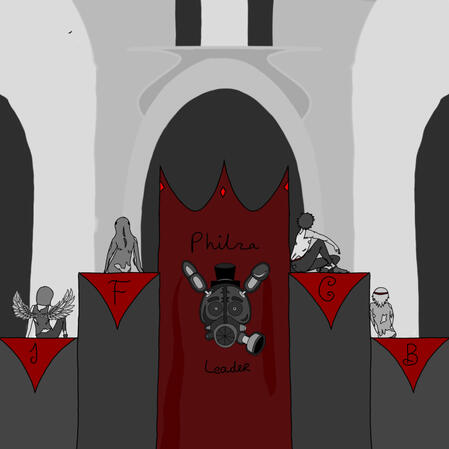
Wide - Back of the Throne (04/01/25)
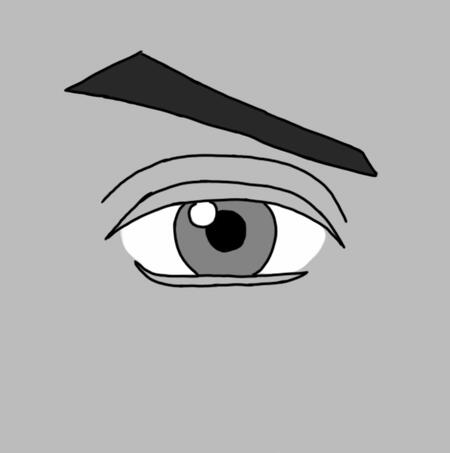
Extreme Close Up - Philza's Eye (05/01/25)
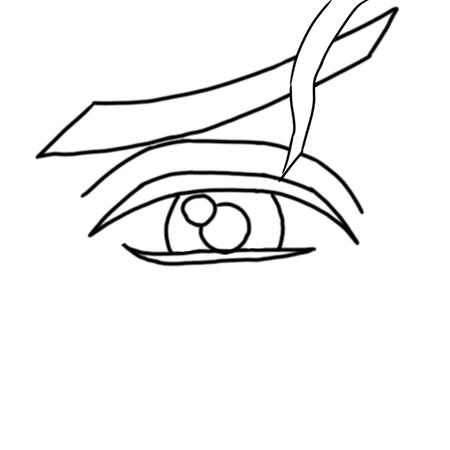
Extreme Close Up - Philza's Eye (05/01/25)

Wide - Bolas dance around a campfire (06/01/25)
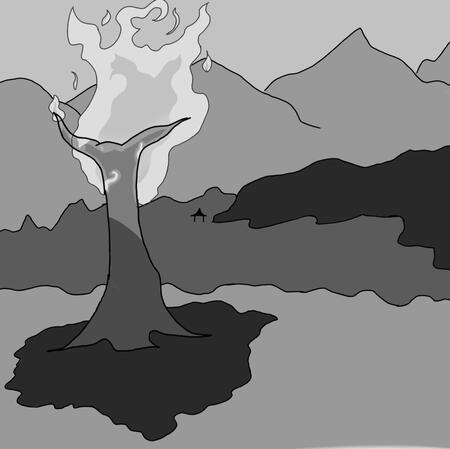
Wide - Red Team First Base #1 (17/10/24)
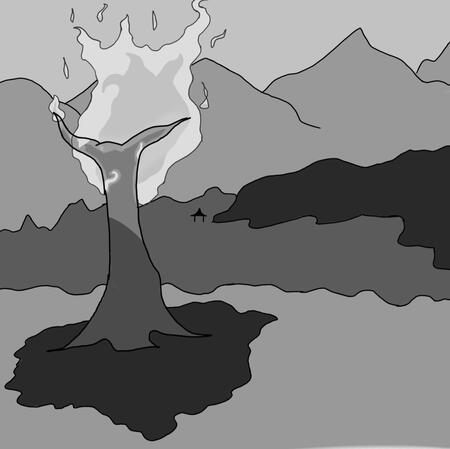
Wide - Red Team First Base #3 (17/10/24)

Mid- Philza's Mask Hanging On A Wooden Pyke (20/10/24)
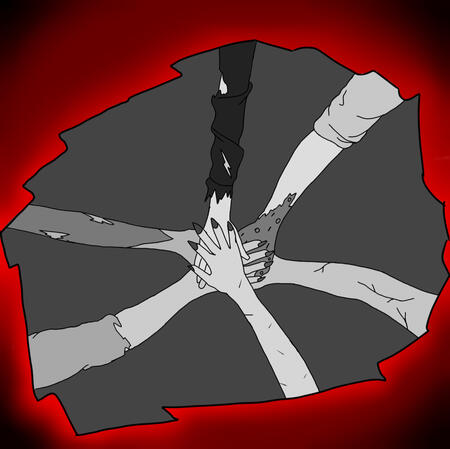
Overhead Shot - Team Bolas Hands In The Middle (14/11/24)
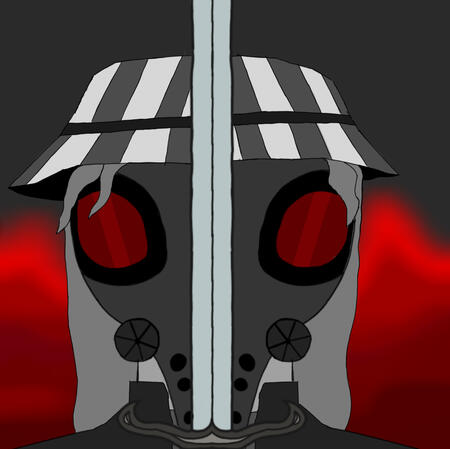
Meduim Close Up - Philza with a Sword (23/11/24)
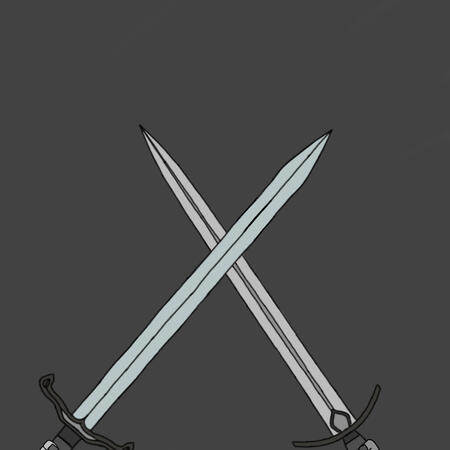
Medium - Swords Clashing (28/11/24)
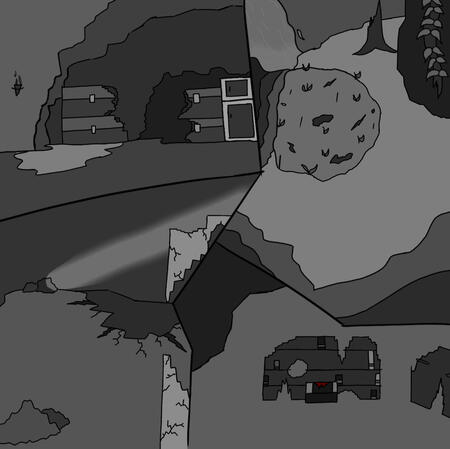
Wide - Base #2 Destroyed (01/01/25)
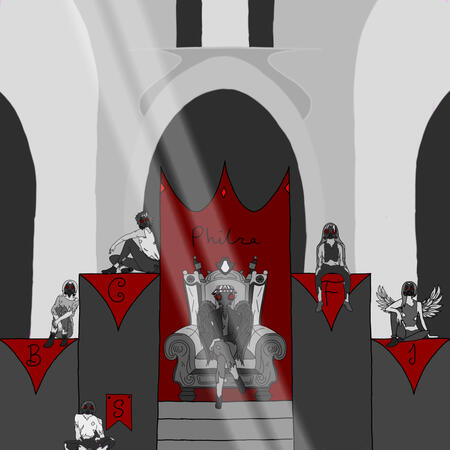
Wide - Front of the Throne (05/01/25)
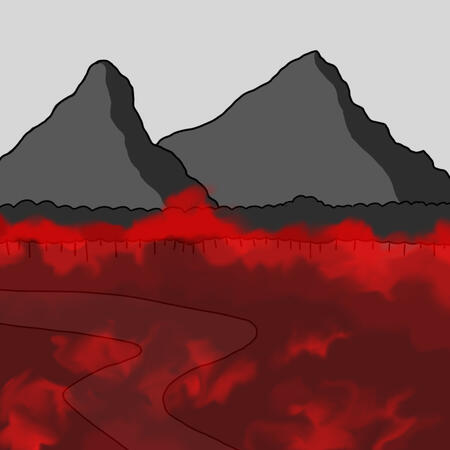
Wide - Toxic Gas Rising (05/01/25)

Extreme Close Up - Gas Mask Lowering (05/01/25)

Wide - Slimecicle looks in a chest (06/01/25)

Wide - Slimecicle on his knees (06/01/25)
LIVE ACTION STILLS


PRE-PRODUCTION
INITIAL NOTES
The yellow highlights are the lines that's going to be animated and the blue highlights are those that are live action. The plan is to start the piece with the live action segments and slowly transition into an animated piece. The colouring might change as I start to create my shot list.I've added a few notes on the sound design too. Obviously the main source of audio will be the narration of the poem, but what about the other sound aspects. I'm thinking of having sounds related to some shots such as a fire sparking or metal clashing. I'm also playing around with the idea of having the characters' screams, shouts and chants being subtly worked into the piece, kind of like a haunted ghost feeling.

SHOT LIST

Before I start to draw, I need to create my shot list. Something that could break your budget or save the project.While making my shot list, I considered many different elements to create an atmospheric piece in both sections of my film. Aspects such as the shot type, shot composition, poetic symbolism and mise-en-scene. These elements are ultimately going to drive my story.For the animated shots, I included a variety of shot types to make the film seem dynamic and to give meaning to the lines of the poem. As for the live action shots, I'm thinking of having them be Point Of View (POV) shots. My hope is that this will seamlessly blend the animation with the live action.Considering the soundtrack is being recorded on a separate track, I didn't include it in the shot list. I'll make a separate document detailing the sound design of the film.
SCHEDULE
The next thing I needed to decide was when and where I was shooting.For the voice over, I plan to film in the Magee Library in a study room. I've previously filmed voice overs in the rooms and know it's relatively quiet in the evenings. A perfect fit. Depending on my voice over actor's availability, I plan to record the voice over on Tuesday December 17th or Wednesday December 18th.However, the filming is a different story. I don't necessarily need an actor as the shots vary from close ups of objects to point of view shots that only show hands. Therefore, I can essentially film this anytime.
But I want an actual date for filming. I've decided to film the necessary shots on Friday December 20th and Sunday December 22nd.
Production Schedule

Shooting Schedule

RISK ASSESSMENT
One of the most important parts of any project is the risk assessment. Without a risk assessment I can't film the project.The only risks I've identified are the cables becoming a tripping hazard in the room I'm filming the voice over and the weather for the location where I'm filming the live action shots. Both risks are minor and can be easily prevented.
PRODUCTION
CASTING
Now I need to search for the perfect actor. To begin, I posted a casting call into the Cinematic Arts/Drama Department collaboration padlet. I posted on Week 12 so we'll see how that goes.I've also asked my ASD mentor to reach out to a couple students to see if any of them are available to do a voice over.If I don't get an actor, the project will not have a voice over and be silent with subtitles. Or I'll ask a member of my family to do the voice over.

Cinematic Arts/Drama Department Collab Board
MY EQUIPMENT
For this project, I knew I didn't need anything big, fancy, expensive camera or elaborate lighting set ups. I needed a reliable camera that can produce great quality images, a sturdy tripod and a software that allowed me to draw my stills with ease.
To draws my stills I used IBIS Paint, a free drawing software on the Google Play store downloaded on my 2 in 1 Chromebook. The app is easy to use and offers a lot of cool brushes that I've been experimenting with while drawing the stills.


Behind the Scenes of myself filming 'Invisible' - my Lifewide Learning Project
As for the live action stuff, I plan to use my tripod and Canon XA15 camcorder. A small camera that has been in the countryside of Donegal, up Shepard's Mountain and to Pollan Bay without any problems. The camera has captured some beautiful shots including the background of this website. I'll provide some more examples of shots recorded by my XA15 below.I also plan to use 58mm macro filters while recording to focus in on the props I'll be filming.

An image from my CIN313 - Lifewide Learning coursework 'Invisible' - shot on location at The Castles, Isle on Doagh

The poster for my CIN502 - Documentary coursework 'File Not Found' taken from a still of the project
As for the narration recording, I plan to use a RODE microphone as my primary sound recordist and my TONAR microphone as my secondary recorder as you can never go wrong with having two sound recordings. I'll be using a clapper board to sync the sound.
FILMING
For the live action shots, I had specific shots in mind that carry a lot of symbolism within them. I began in my back garden, which had a flat area with stone steps leading up to a raised platform of grass in front of a banking of grass. I grabbed my equipment and began setting up.

I placed an old fire pit in the flat area and with the help of my dad, started a fire. Who doesn't love a bit of arson... that was a joke. With old playing cards, I filmed the Ace, King, Queen and Jack of hearts and spades on the stone steps before setting them alight in the fire pit.

Behind the scenes of filming

Behind the scenes of filming
I then got really close to the fire and began filming it, capturing the flames dancing in the wind. After about 30 minutes, we put the fire out by pouring water in the fire pit.I then moved onto the rest of my shots, making it seem like they were point of view shots. I figured out my 10x close up macro lens filter distorted the light entering the edge of the lens creating a dream/vision feeling to the footage. This combined with focus pulling gave the illusion of the character loosing control of their body.
I moved onto filming my props. The shots that required props were all close ups/extreme close ups including matching bracelets with the words 'Philza' and 'Missa' engraved into them, one of my dad's beanies, a spatula and a print of art made by @evelinii (on twitter, bluesky, linktree and youtube) that I originally bought to put on my wall showcasing my main character's family.

Behind the scenes of filming
VOICE RECORDING
After posting the casting call and reaching out out to voice actors with no response back, I decided to do the voice over myself. In my head, I was picturing a deep, somewhat gravelly male voice, so my slightly high pitched voice wasn't what I was expecting to hear when watching the film.On the day I set out to record, I woke up with the sorest throat and a bad cough; which made my voice hoarse which did help with making my voice deeper. But I powered through because the deadline was approaching.I loaded up the sound recording app on my laptop and connected my TONAR microphone to it to record. It took me 5 or 6 takes before and after my shift at work to get it recorded. Now I'm no voice actor, but I was pretty happy with how it turned out.
POST-PRODUCTION
EDITING

The panel to resize the aspect ratio
With everything recorded, I booted up Premiere Pro. After sorting my footage and stills into the correct folders and importing them into the project, I noticed something that might have purposed an issue. The aspect ratio. My animation stills had an aspect ratio of 1:1 whereas live action footage had an aspect ratio of 4:3. I decided it would be easiest to put the sequence aspect ratio at 1:1 because it was more optimal to scale up the live action footage than to redraw 30 stills. With the help of a quick Google search, I scaled the footage to match the stills, 1280 x 1280 pixels.
I moved onto cutting the voice over. I imported the best takes into a bin and began listening to cut the best parts. However, when I was listening to the voice over and I realized I sounded awful, like you could tell I was sick. I made the executive decision to cut the voice over from the project. At the time I made the decision, I didn't have a backup plan but was I was editing I thought about putting audio segments from the streams as the soundtrack.
Next I started putting the captions onto the timeline. Without a voice over, I needed something to keep the timings of the shots consistent, so I moved to the captions detailing the lines of the poem. I used the basic titles with a font resembling handwriting. I also used a two shades of red to help the text stand out against the black and white shots.

The timeline 2 hours into editing
After the captions were done. I moved to putting the footage and animation on the timeline, working chronologically down my shot list. Each shot will be exactly four seconds long so I had to get crafty when layering the animation stills on top of each other. For example, the shot of Philza's gas mask moving had 21 separate frames layered after one and other with a duration of 3 frames to simulate a pan. And with another quick Google search, I found out how to zoom into a shot using the key point and scale of the shot. For the live action shots, I set the scale of those to 120% of the frame, meaning the edges of the original footage will be cropped out of the shot.
A clip that I used in the film (twitch.tv/cellbit)
As soon as I was finished, I began clip hunting on Twitch and YouTube. Twitch has a built in clipping feature that allows you to clip 1 minute 30 seconds of the desired live stream but if you're looking back on a specific vod that's saved, you need to know the timestamp of the event, and with hours of footage, it could be difficult to find the exact moment. So, I used the PhilzaVODs channel on YouTube, ran by members of the community, to find the timestamps for all of Philza's clips. On YouTube I searched for compilations of clips from the events to get more popular clips from different streamers.
In the end, I used the audio of clips from Philza, Cellbit, Slimecicle, BagheraJones, JaidenAnimations and Foolish; the six members of Team Bolas. I imported them into their own bin and began laying them on the timeline. I didn't want the voices of the creators to distract from the captions, so with another Google search, I found out how to muffle the audio using the 'Parametric Equalizer' effect in Premiere.

Adding the muffled effect to my audio
I began the audio from the clips around the 30 second mark, so the first part of the film was in silence. Which didn't sit right with me. I began brainstorming and thinking back to other projects that I made. My project "Alone" came to mind. In that, I used a copyright free sound effect of the wind to mask the background static of the microphone. I thought, "could I do something similar in this?" So, I grabbed the sound file and stuck it in. After adjusting the audio levels, I felt like it fit with the project, making it feel more organic and real.
The only thing left to do was to export it, review it for any mistakes and upload it to Vimeo.And that, ladies and gentlemen, is how I made my short film. Make sure to check out my other posts about the influences, my thoughts throughout the semester and the meanings behind the animation shots.

The final timeline